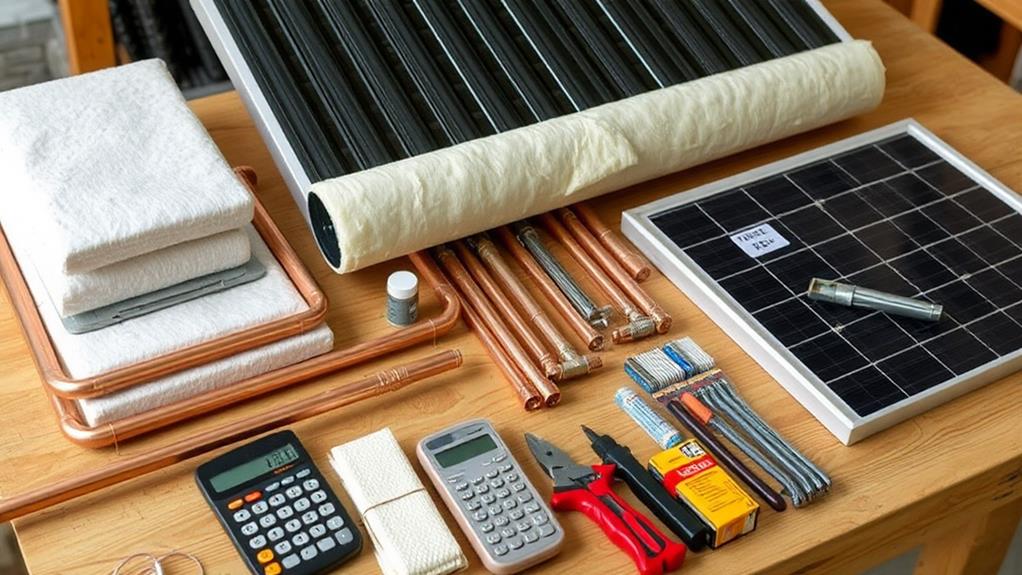
A DIY solar water heater kit generally includes key components such as an efficient solar collector, typically crafted from unglazed plastic or copper tubing, a soft storage tank with multiple insulation layers designed to minimize heat loss, and a Grundfos 15-58 pump for effective water circulation. Additionally, PVC pipes, fittings, and valves guarantee leak-free connections between the collector and tank. The kit also requires essential materials like plywood and pressure-treated lumber for structural support, along with various tools for assembly, including power tools for precision cuts. Each part works collaboratively for maximum solar energy utilization, enhancing our understanding of sustainable water heating solutions.
Key Takeaways
- The kit includes a solar collector made of unglazed plastic or copper tubing for efficient solar energy absorption.
- A storage tank with multiple insulation layers minimizes heat loss, ensuring stored water remains warm.
- The Grundfos 15-58 3-speed pump circulates water, handling high temperatures up to 230°F for effective heating.
- PVC pipes, fittings, and valves connect all components, creating a leak-free water heating system.
- Essential structural materials like plywood and pressure-treated lumber support the entire assembly for durability.
Components of the Kit
When we think about building a DIY solar water heater, understanding the components of the kit is essential for a successful installation. Our kit typically includes a collector, which is often made of unglazed plastic or copper tubing, specifically designed to absorb solar energy efficiently. Alongside this, we have a storage tank, commonly a soft tank with a woven fabric outer layer and multiple insulation layers (R26) to minimize heat loss. An important element is the pump, like the Grundfos 15-58 3-speed HVAC circulator, capable of handling temperatures up to 230°F, ensuring water circulates effectively. Additionally, essential components such as PVC pipes, fittings, and valves facilitate the connection between the collector and tank, guaranteeing a leak-free system.
Essential Materials Required

As we begin our DIY solar water heater project, it is crucial to identify the key components and tools required for a successful installation. We'll need a 4×4 sheet of plywood, pressure-treated lumber for the frame, and a 1/4 HP submersible utility pump to circulate water effectively, alongside black polyurethane irrigation tubing to maximize heat absorption. Additionally, we'll discuss the necessary tools for assembly and how each material contributes to the overall efficiency of the solar heating system.
Key Components Overview
A thorough DIY solar water heater kit includes several essential components that work together to harness solar energy efficiently. The primary components consist of a collector, a submersible pump, a storage tank, and various PVC fittings.
| Component | Description |
|---|---|
| Collector | Absorbs solar energy, often made of copper tubing or unglazed plastic. |
| Pump | A 1/4 HP submersible utility pump circulates water between the collector and tank. |
| Tank | Stores heated water for later use, integral to the system's efficiency. |
| PVC Fittings | Connects various components for seamless water flow. |
| Tubing | Black polyurethane irrigation tubing absorbs heat and is 200 ft long. |
Together, these components create a functional system that maximizes solar energy utilization, ensuring we can heat our water sustainably.
Tool Requirements Explained
Typically, we need a few essential tools and materials to build our DIY solar water heater kit effectively. For this DIY project, our tool requirements include a handsaw or circular saw for cutting the structural components, a drill/driver for securing the frame, and a hammer for assembly. We'll also need a 1/4 HP submersible utility pump, like the Green Expert 203618, to facilitate water circulation in our solar water heating system. The black polyurethane irrigation tubing (1/2 x 200ft) will serve as the coil, and black zip ties will secure it to the structure. Optional materials, such as Krylon Colormaxx Paint+Primer for heat absorption, can enhance efficiency, while plexiglass and eye bolts provide additional support for our system.
Necessary Tools for Assembly
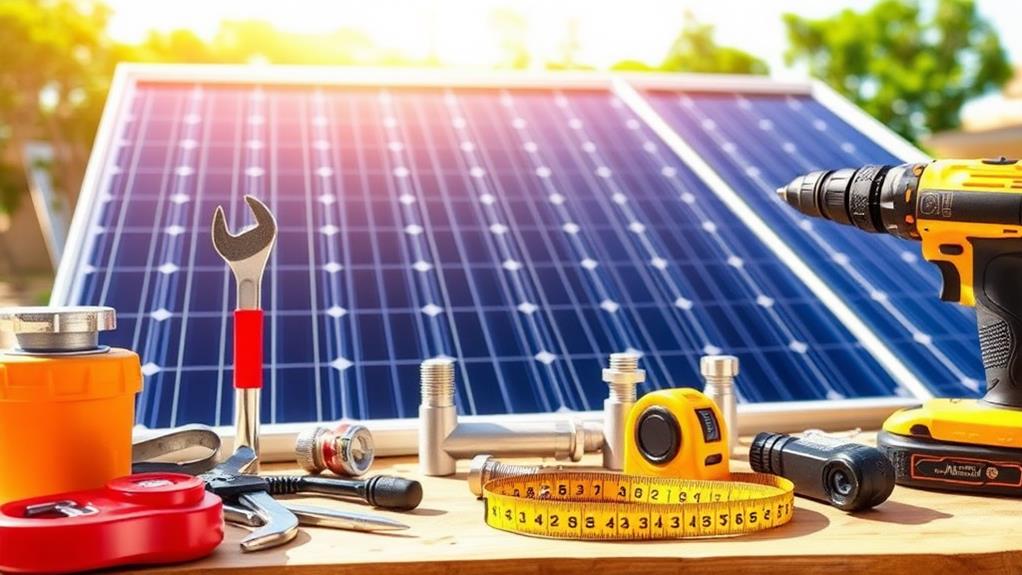
As we prepare to assemble our DIY solar water heater kit, it's vital to gather the necessary tools that will guarantee a successful construction process. We'll need essential hand tools, such as a handsaw or circular saw for cutting plywood and lumber, alongside a drill/driver to create holes and secure components, while a hammer will be important for fastening parts together, especially if wooden pallets are incorporated. Additionally, power tools can enhance efficiency, and having items like a hair dryer on hand can facilitate the manipulation of irrigation tubing, making our assembly process smoother and more effective.
Essential Hand Tools
When starting on the journey of building a DIY solar water heater, having the right hand tools at our disposal is essential for a successful assembly. The right tools not only enhance our efficiency but also guarantee that we safely handle the materials required for the collector area. Here's a quick breakdown of the essential hand tools:
| Tool | Purpose | Importance |
|---|---|---|
| Handsaw/Circular Saw | Cutting materials like plywood and lumber | Accurate dimensions |
| Drill/Driver | Making holes and securing components | Strong frame and tubing |
| Hammer | Attaching parts, especially with wood | Secure and stable assembly |
Additionally, sandpaper helps smooth rough edges, while a hair dryer can soften irrigation tubing, making it easier to work with during assembly. These tools form the backbone of our project, guaranteeing we create a reliable solar water heater.
Power Tool Requirements
To build a reliable DIY solar water heater, having the right power tools can make all the difference. A handsaw or circular saw is essential for accurately cutting plywood and lumber to the required dimensions for the frame and collector box. Next, a drill/driver is vital for making holes in the plywood, enabling us to secure components and attach the irrigation tubing using zip ties. To guarantee a sturdy structure, a hammer is necessary for fastening the wooden parts together. Additionally, while not a power tool, using a hair dryer can be helpful for softening the black irrigation tubing, making it easier to coil and secure. Engaging child labor or assistance during assembly fosters collaboration and enhances the educational experience.
Step-by-Step Construction Process
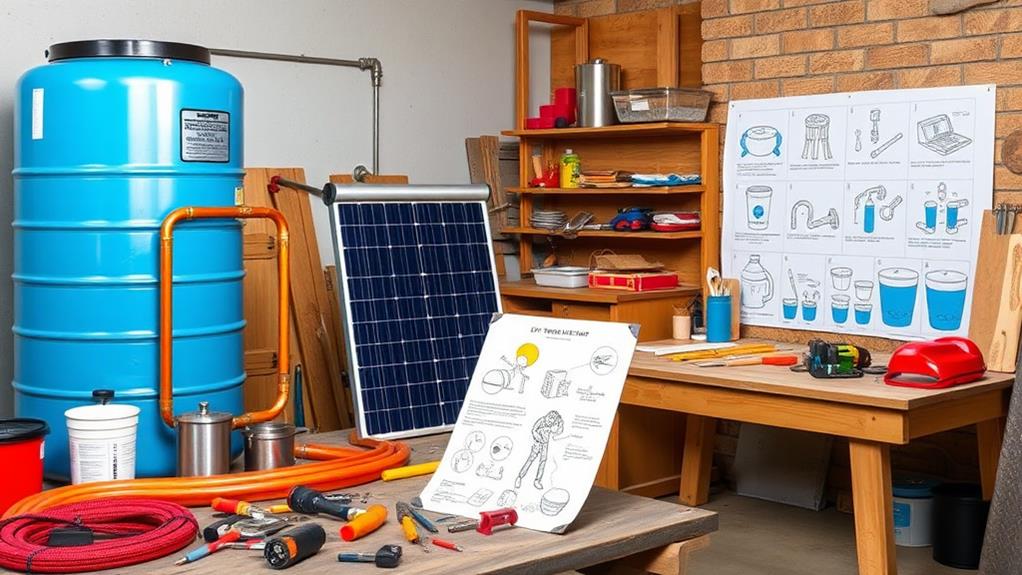
Building our DIY solar water heater requires careful attention to detail, starting with the construction of a sturdy frame. We'll begin by cutting three 2×2 pressure-treated lumber pieces to create a frame that matches the perimeter of a 4×4 sheet of plywood, ensuring a solid base for the solar collector. Next, we'll securely attach the 2x2s to the plywood and add diagonal cross-bracing for additional support against environmental conditions. We'll drill pairs of holes in the plywood to insert black polyurethane irrigation tubing, coiling it and securing it with zip ties to maximize solar heat absorption. Finally, we'll connect the hoses to the tubing ends using an irrigation tubing to garden hose adapter, ensuring all connections are tight and leak-free.
Operating Your Solar Heater

After completing the construction of our DIY solar water heater, it's time to put it into action. To operate effectively, we must guarantee that the 1/4 HP submersible utility pump is connected to the hoses leading to the pool and powered on during sunny days; this allows peak heating. We should monitor the water temperature regularly, as the system can elevate the pool water from approximately 80°F to around 100°F under ideal conditions. Additionally, it's essential to check for any leaks or blockages in the pump and tubing to maintain system efficiency. Utilizing optional handles or wheels will facilitate repositioning for better sun exposure, while routine maintenance checks will prolong the operational lifespan of our heating system.
Maintenance and Performance Tips
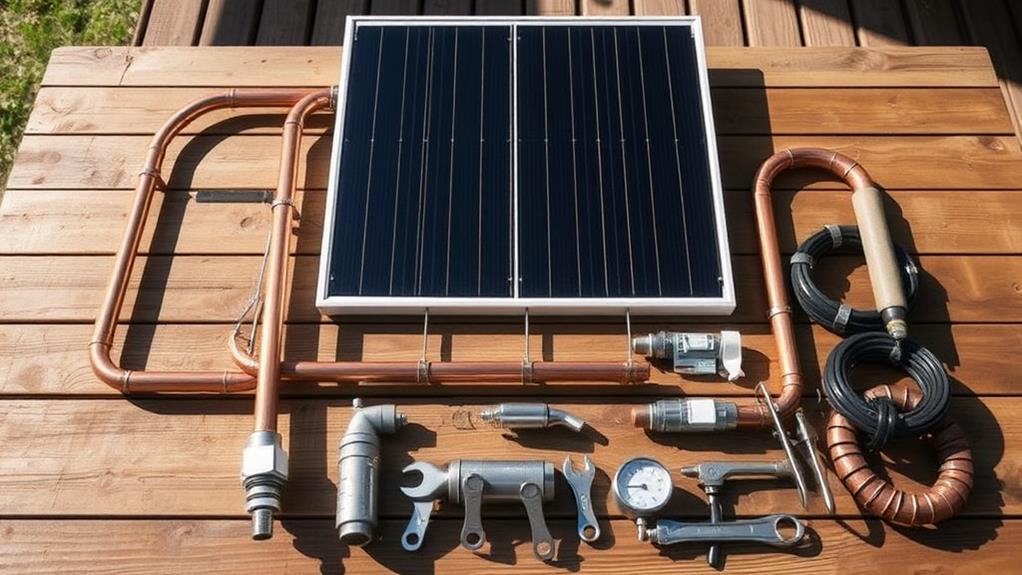
Maintaining the efficiency of our DIY solar water heater is essential for peak performance. By following these maintenance tips, we can guarantee our system operates at its best, enhancing the longevity of the water heater tank and the overall setup.
- Regularly check for leaks in the tubing and connections.
- Monitor the water temperature daily; we should expect increases from 80°F to around 100°F on sunny days.
- Clean the collector surface periodically to boost solar absorption.
- Inspect the utility pump and irrigation tubing for wear at least once a season.
- Conduct a thorough check of the drain back mechanism before winter to prevent freezing.
These steps not only improve performance but also safeguard our investment in sustainable energy solutions.
Environmental Impact and Benefits
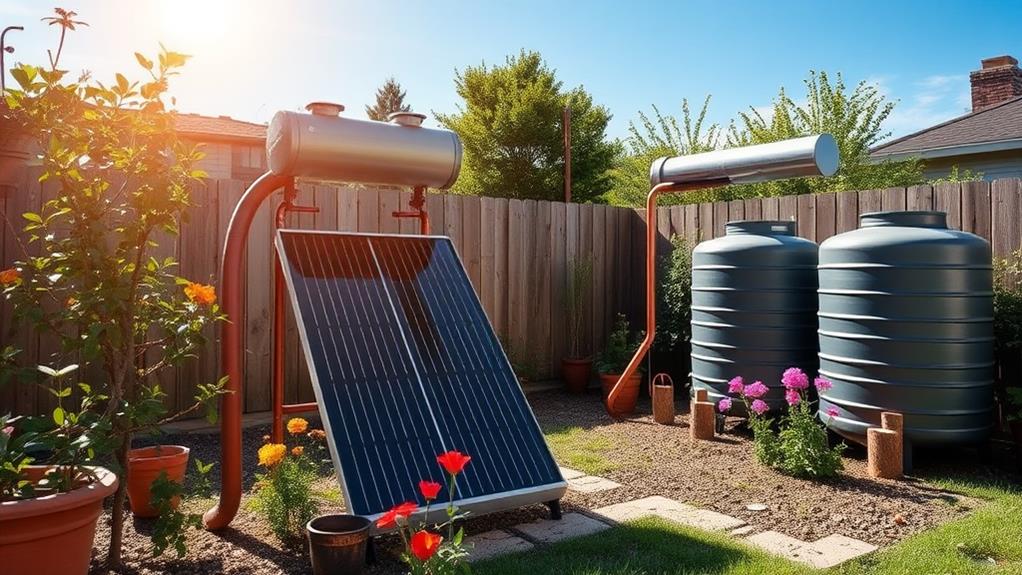
One of the most compelling reasons to contemplate a DIY solar water heater is its positive environmental impact. By utilizing renewable solar energy, these systems notably reduce CO2 emissions, allowing us to harness free hot water while decreasing our reliance on fossil fuels. In sunny climates, a well-installed DIY solar water heater efficiently converts solar energy into heat, promoting environmental sustainability and enhancing community resilience. Furthermore, by diminishing our energy consumption, we collectively contribute to a healthier planet. With construction costs typically under $400, adopting this sustainable solution not only benefits our households but also aligns with our shared commitment to preserving the environment for future generations. Together, we can make a difference by embracing these eco-friendly technologies.
Cost Considerations and Savings
Embracing a DIY solar water heater not only benefits the environment but also offers considerable cost advantages. By constructing our own system for under $400, we can avoid the hefty price tags associated with commercial units, which can range from $1,000 to $5,000.
Consider the following cost considerations and savings:
- Annual energy bill reductions of 50-80%
- Free access to hot water year-round
- Potential tax credits up to 30% of installation costs
- Average ROI within 5-10 years
- Minimal maintenance costs compared to traditional systems
With these factors in mind, investing in a DIY solar water heater becomes a smart financial decision, enabling us to harness solar energy while considerably reducing our long-term expenses.
Frequently Asked Questions
What Are the Components of a Solar Water Heater?
When we explore solar water heater components, we find various solar panel types, heat transfer systems, and energy efficiency tools. We can share installation tips to guarantee we all maximize our solar investment together.
What's Inside a Solar Water Heater?
Imagine harnessing solar energy, feeling the warmth of thermal efficiency in our homes. Together, we'll explore the installation process and share maintenance tips, ensuring we all enjoy a reliable, eco-friendly water heating solution.
What Do You Need to Make a Solar Water Heater?
To make a solar water heater, we'll need to take into account the installation process, conduct a cost analysis, and gather maintenance tips to guarantee energy efficiency. Together, we can create a sustainable solution for our needs!
What Liquid Is Used in Solar Water Heater?
Did you know solar water heaters can achieve up to 70% efficiency? We often use water or antifreeze solutions as solar fluid types to enhance heat transfer and boost performance efficiency, ensuring our systems work effectively in various climates.

